Earth oven and cooking in embers and clay
In an earth oven food cooks slowly in a pit: stones are heated in it with a fire for about an hour, the ash is cleared away, then come layers of green grass, the wrapped food, more grass and a thick layer of earth on top. After several hours you dig it out and check that everything is done. Only on mineral soil without roots or peat, otherwise an underground smouldering fire can start – and at the end everything is put out completely.
- Digging and heating 1.5–2 hours, cooking several hours
Explained simply
An earth oven is an oven in the ground. You dig a hole, put stones in it and make a fire on them for an hour. Then the stones are so hot that they give off heat for many hours – like a hot-water bottle made of stone.
On the hot stones goes a thick layer of fresh grass, then the wrapped food, more grass and finally earth. The grass makes steam and the earth is like a lid. So the food cooks slowly and stays juicy. After a few hours you carefully dig it out again and check that everything is done.
But be careful: in some soils, such as peat or among tree roots, embers can keep smouldering underground and start a forest fire later. So you only dig in sandy or loamy soil without roots, only with permission, and at the end you put everything out with plenty of water until it is cold.
How it works
The earth oven is a heat store with a lid. Stones absorb a lot of heat during the fire. If the pit is then sealed airtight with earth, this heat can hardly escape and spreads slowly into the food. Because no flame burns any more, nothing burns – the food cooks gently as in a casserole.
The fresh grass has two jobs. It separates the food from the hot stones so nothing burns, and it gives off moisture that turns into steam. Steam transfers heat very well and cooks even thicker pieces more evenly. The layer of earth must be thick and tight; where steam escapes, heat is lost.
In clay baking the clay itself is the casing. A moist layer of clay around a fish or a root protects it from the direct embers, keeps the juices in and hardens in the process. After cooking you break the casing open, and with fish the scales and skin often stay stuck to the clay.
What really matters
Everything starts with the soil. Suitable is mineral soil: sand, loam or gravel that looks light or reddish and contains hardly any plant remains. Unsuitable are dark, soft, spongy soils, peat, bog and thick humus layers, and any place with roots. A short test dig shows you what lies below the surface.
The stones must get really hot. A strong hardwood fire fed again and again for about an hour is a good guide. Then you work quickly: wood remains out, push the ash away, grass, food, grass, earth – the faster the pit is closed, the more heat stays inside.
The cooking time cannot be predicted exactly. Small, flat pieces and vegetables usually need one to two hours, large pieces of meat considerably longer. That is why every piece is checked at its thickest part when you open it. Anything not done yet carries on cooking over the fire. A probe thermometer takes the guesswork away.
Safety: what to watch out for
The greatest danger is a smouldering fire in the ground. In peat, humus and roots embers can travel on without flame for days and break out somewhere completely different as a wildfire. So mineral soil only, distance from trees and dry grass, and watch the surroundings while cooking. If smoke rises from the ground beside the pit, uncover it at once and put it out.
At the end you do not simply shovel earth on top. First plenty of water goes on stones and pit, then you stir, then pour again – until everything feels cold to the back of your hand. Only then is the pit filled in and the turf put back. During a fire ban or drought no earth oven is made.
Foil, a clean wet cotton cloth or fresh grass are suitable for wrapping and covering. Do not use leaves of plants you do not know for certain – some are poisonous. Hot steam escapes when you open it: work from the side, face away, and children keep their distance.
When it makes sense – and when not
An earth oven is worth it when a group stays in one place for a while and wants to cook a lot of food at once – potatoes, root vegetables, fish or pieces of meat. While the food cooks you are free for other work. For one person and a short rest the effort is too great; then embers, a pot or clay baking are simpler.
Digging and lighting a fire are only allowed with the landowner's permission and usually forbidden in protected areas. Many barbecue and camp sites have their own rules. The pit changes the ground – after extinguishing, the site is restored as well as possible.
Good to know
Earth ovens are found all over the world. The Māori in New Zealand cook in the hāngī, in Hawaii the pit is called imu, and in Europe too archaeologists have found cooking pits with heat-cracked stones. The principle is the same everywhere: hot stones, a moist layer of plants, food, a cover.
The World Health Organization sums up safe food in five keys: keep clean, separate raw and cooked, cook thoroughly, keep food at safe temperatures and use safe water. With an earth oven thorough cooking is particularly important – and cooked food is eaten promptly, not left standing warm for hours.
Step by step
Check site and soil
With permission, choose a spot with mineral soil: sand, loam or gravel, without roots, several metres from trees and dry grass. Dig a test hole: if the soil is dark, soft, spongy or full of roots, it is unsuitable. Put water for extinguishing ready.
Caution: No peat, no humus, no roots.
- 1
Check site and soil
With permission, choose a spot with mineral soil: sand, loam or gravel, without roots, several metres from trees and dry grass. Dig a test hole: if the soil is dark, soft, spongy or full of roots, it is unsuitable. Put water for extinguishing ready.
No peat, no humus, no roots.
- 2
Dig the pit and lay in stones
Lift the turf carefully and put it aside. Dig a pit about 50 to 60 centimetres wide and 40 to 50 centimetres deep; heap the earth beside it. Line the bottom with dry, fist-sized stones.
- 3
Heat for about an hour
Light a strong hardwood fire on the stones, perhaps laying more stones on top, and keep feeding it for about an hour until the stones are very hot and there is a thick bed of embers. Never leave the fire alone.
- 4
Clear away ash and wood
Take out unburnt pieces of wood and let them burn on in a safe fireplace. Push the ash off the hot stones with a green stick; the stones stay in place.
- 5
Green, food, green
Lay a thick layer of fresh, green grass on the stones. On top put the food, wrapped in foil or in well-known, clean leaves, spaced apart. Then another thick layer of grass over it.
Do not use unknown plants.
- 6
Cover with earth
Quickly cover the pit with the dug-out earth, at least a hand's width thick. Where steam or smoke escapes, add more earth. Mark and fence off the spot so that nobody steps on it.
- 7
Let it cook for several hours
Small pieces and vegetables usually need one to two hours, large pieces considerably longer. Watch the spot during this time: if smoke rises from the ground beside the pit, something has caught fire – uncover it at once and put it out.
- 8
Open and test
Remove the earth from the side with a shovel or stick, face away from the steam. Lift out the food and check it at the thickest part: meat with no pink, clear juices; fish opaque; roots soft. Finish anything undercooked over the fire and eat everything promptly.
- 9
Put out completely and restore
Pour plenty of water on stones and pit, stir, pour again until everything is cold – feel with the back of your hand. Only then fill in the pit, put the turf back and scatter the stones.
Do not fill it in while it is still warm.
Common mistakes
- A pit in peat, humus or among roots
- Heating too briefly – stones not hot enough
- Too thin a layer of earth, steam escapes
- Wrapping in unknown leaves
- Not checking the food is done
- Filling the pit in while warm
Quick view
Materials
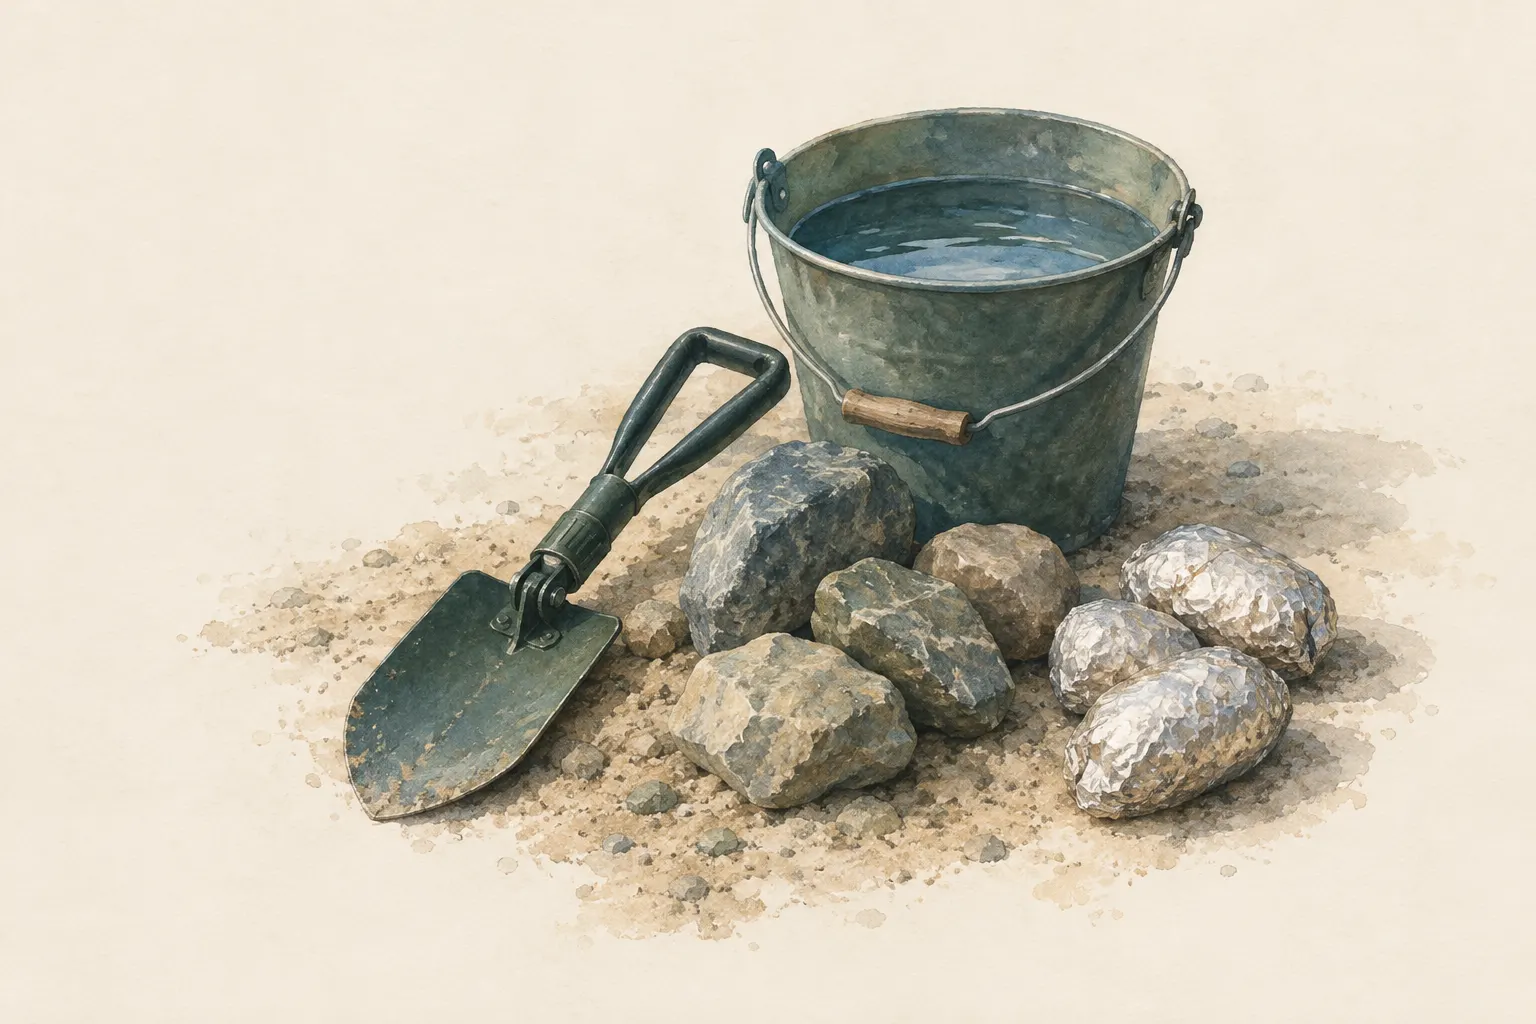
Small shovel / folding spade
Dry cooking stones (egg- to fist-sized)
Many dry, fist-sized stones
Never take stones from streams, lakes, banks or wet ground – trapped water can make them burst in the heat.
No layered, cracked or porous stones; keep your distance during the first heating.
Dry firewood
Plenty of dry hardwood
Collect only where permitted.
Lighter, matches or ferro rod
Observe local fire bans.
Aluminium foil (heavy-duty)
For wrapping – or well-known, clean green leaves
Edges can be sharp; conducts heat and electricity.
Water for extinguishing (bucket, canister or pot)
Plenty, to put out the pit
Have several litres ready before lighting.
Probe thermometer (meat thermometer)
Measure at the thickest part, not against bone.
Clean after every use in raw meat.
Suitable for
- Larger amounts for a group
- Root vegetables, potatoes, fish and pieces of meat
- A base camp for a day
Not suitable for
- Peat, bog and humus soils, the root zones of trees
- Drought, fire bans, wind
- Protected areas and places without permission
- If you stay only briefly – not worth the effort
Prerequisites
- The landowner's permission to dig and to make a fire
- No fire ban, low wildfire danger
- Able to manage a fire safely and put it out completely
- Plenty of water nearby
Safety
- Only use dry, dense stones from dry places – stones from streams or wet ground can burst. Hot steam escapes when opening: work from the side, face away.
- Only use grass or leaves you know for certain are non-toxic for wrapping and covering. Unknown plants can be poisonous – when in doubt use foil, a clean wet cloth or grass only.
- The earth oven cooks unevenly. Check each piece at its thickest part: meat with no pink and clear juices, fish opaque. Anything not done is finished over the fire.
How it works
Hot stones store heat. In the covered pit they release it slowly over hours, and the moisture from grass and food turns into steam that cooks everything evenly. The layer of earth keeps steam and heat in – like a lid, only thicker.
Advantages
- Cooks large amounts at once
- Juicy, gently cooked food
- Needs less attention while cooking
Disadvantages
- A lot of work and firewood
- Risk of an underground smouldering fire
- Hard to judge when it is done
- Leaves marks in the ground, only with permission
Deep knowledge
Background
Earth ovens exist in many cultures – for example the Māori hāngī or the Hawaiian imu. Military survival manuals such as FM 3-05.70 and bushcraft books describe simple pits with hot stones and cooking in clay.
The World Health Organization names thorough cooking as one of its five keys to safer food. This matters particularly with an earth oven, because you cannot look inside.
Variants
- Baking in clay
- Coat a gutted fish with its scales on, or a root, all over with a layer of moist, clean clay about one to two centimetres thick and lay it in the embers. After cooking, break open the hard clay – scales and skin often stay stuck to it. Test for doneness as always.
- Directly in the embers
- Potatoes or roots in foil can also simply be placed in the embers of a fire and turned regularly. This is quicker than an earth oven but burns the outside more easily.
Common mistakes
- A pit in peat, humus or among roots
- Heating too briefly – stones not hot enough
- Too thin a layer of earth, steam escapes
- Wrapping in unknown leaves
- Not checking the food is done
- Filling the pit in while warm
Limits and risks
- No fixed cooking times – they depend on stones, soil and amount
- No identification of wild plants for wrapping
- Only with permission and no fire ban
Material alternatives
Derived from material properties: a substitute must have all relevant properties. Observe the notes on the substitute.
- Dry firewood
- Tinder (Carry in waterproof packaging.), Char cloth (charred cotton) (Store dry in a tin.), Finest-grade steel wool (Store separately from batteries – fire risk.), Fatwood (resin-rich wood) (Collect only dead wood where permitted.), Stove fuel (canister, liquid fuel, alcohol) (Store fuels apart from food and in original containers or bottles intended for them.), Petroleum jelly cotton balls (Use only pure cotton.), Cooking oil or cooking fat (tallow, lard) (Never put out burning fat with water – cover it with a lid to smother it.), Tree resin (spruce, pine) (Resin is flammable and sticks to the skin when hot – melt it only slowly over low heat.), Birch bark (from dead, fallen wood) (Never peel from living trees.)
- Lighter, matches or ferro rod
- Ferro rod (Practise before you need it.), Fire striker and hard stone (Carbon steel, not stainless.), Bow drill set (bow, spindle, hearth board, bearing block) (Use only dry wood.), Burning lens / magnifier (Never leave lying in the sun – fire risk.), Fire piston (Maintain the seal.), Pump drill (spindle, flywheel, crossbar, cord) (Fix the flywheel firmly and centrally – a loose disc can fly off.)
- Aluminium foil (heavy-duty)
- Emergency blanket (Tears easily once punctured; short-term shelter only.), Signal mirror (Do not flash into the eyes of people nearby or of drivers.), High-visibility vest (Keep within reach inside the cabin, not in the boot/trunk.), Warning triangle (Whether warning triangles are mandatory, or should be placed at all on certain roads (e.g. motorways), differs between countries – check local rules.)
Results come exclusively from structured entries. No improvised instructions are generated.
Sources
Headquarters, Department of the Army (USA) (2002): FM 3-05.70 Survival
Earth oven with hot stones, cooking in clay and embers
World Health Organization (WHO) (2006): Five Keys to Safer Food Manual
Cook thoroughly, eat cooked food promptly
United States Department of Agriculture – Food Safety and Inspection Service (USDA FSIS): Keeping Food Safe During an Emergency
Food safety when cooking in emergencies
Ray Mears – Hodder & Stoughton (2002): Bushcraft
Cooking in earth pits and in embers
Leave No Trace Center for Outdoor Ethics: The Seven Principles of Leave No Trace (Principle 5: Minimize Campfire Impacts)
Minimise campfire impacts, put fires out completely