




















Pemmican: dried meat and fat as a long-keeping emergency ration
Pemmican is one of the oldest emergency rations in the world: completely dry lean meat pounded to a powder, mixed with rendered fat and sometimes dried berries. It is very energy-rich, needs no refrigeration as long as it is kept cool and dark, and can be eaten as it is or cooked into soup. Here you learn to pre-cook and dry the meat safely, to break it down finely, to mix it with the right fat, to shape, store and check it – and why the step "heat first, then dry" must never be skipped.
- Drying 1–2 days, breaking down and mixing about 1 hour
Explained simply
Pemmican is something like an ancient energy bar made of meat. You take lean meat, cook it briefly, dry it until it is rock hard and pound it to powder. Then you mix it with melted fat.
Because there is almost no water left in it, bacteria and mould can hardly grow. So pemmican keeps a long time if it is stored cool and dark. A small piece is very filling.
The order is very important: heat first, then dry. Drying alone is not enough to kill all germs.
How it works
All living things, including bacteria and moulds, need water. If meat is dried so much that it snaps, there is almost no free water left. The fat then coats each fibre like a protective layer and keeps air and moisture out.
Fat is also the ration's energy store. One gram of fat provides more than twice as much energy as one gram of protein or starch. That is why a handful of pemmican holds as much energy as a large meal.
What matters
Lean and dry: every bit of fat left in the meat goes rancid during drying, and every damp spot can grow mould. So trim the fat, slice thinly and dry until the strips snap.
Clean, firm fat: beef tallow sets hard and holds the mass together. Strained through a cloth, it contains no bits of meat that could spoil. Soft lard goes rancid faster.
Store cool and dark: warmth and light speed up rancidity. Individually wrapped portions in a tight tin keep longest.
Safety: what to watch out for
Heat first, then dry. The US Department of Agriculture recommends 71 °C inside for meat and 74 °C for poultry before drying. Without a thermometer, cook the strips in rolling water until they are no longer pink inside.
No wild boar, no bear, no badger: these animals can carry Trichinella, and drying does not reliably kill it. Their meat is only eaten fully cooked and at once.
Rancid, mouldy, damp: throw it away. Fat that smells sharp, soapy or like old paint has spoiled.
Step by step
Choose and slice lean meat
Take fresh, lean meat, for example beef, roe deer or red deer. Cut away all visible fat and all sinew – fat in the meat goes rancid while drying. Slice the meat across the grain into thin strips, about as thick as a pencil. Slightly frozen, it is much easier to slice.
- 1
Choose and slice lean meat
Take fresh, lean meat, for example beef, roe deer or red deer. Cut away all visible fat and all sinew – fat in the meat goes rancid while drying. Slice the meat across the grain into thin strips, about as thick as a pencil. Slightly frozen, it is much easier to slice.
- 2
Heat through first
Put the strips in batches into rapidly boiling water or heat them in the oven until they reach 71 °C inside or are no longer pink. Only then do you start drying. This step kills the germs that drying alone does not reliably catch.
Never just air-dry raw meat.
- 3
Dry completely
Dry the strips in the oven at a low temperature with the door slightly open, in a dehydrator or outdoors on a rack over a small, smoking fire. They are only done when they are hard and brittle and snap when bent instead of bending. Half-dry meat spoils in pemmican.
- 4
Break down to a powder
Pound the dry strips in a mortar, between two clean stones inside a cloth, or grind them in a blender until you get a fibrous, almost powdery mass. The finer it is, the better it binds with the fat.
- 5
Melt clean fat
Render beef suet or another firm animal fat (see "Rendering fat") or use ready-made tallow. Strain it through a cloth so no bits of meat remain. Tallow sets firm when it cools and holds the pemmican together; soft pork lard goes rancid faster.
Fat only warm, not smoking hot.
- 6
Mix
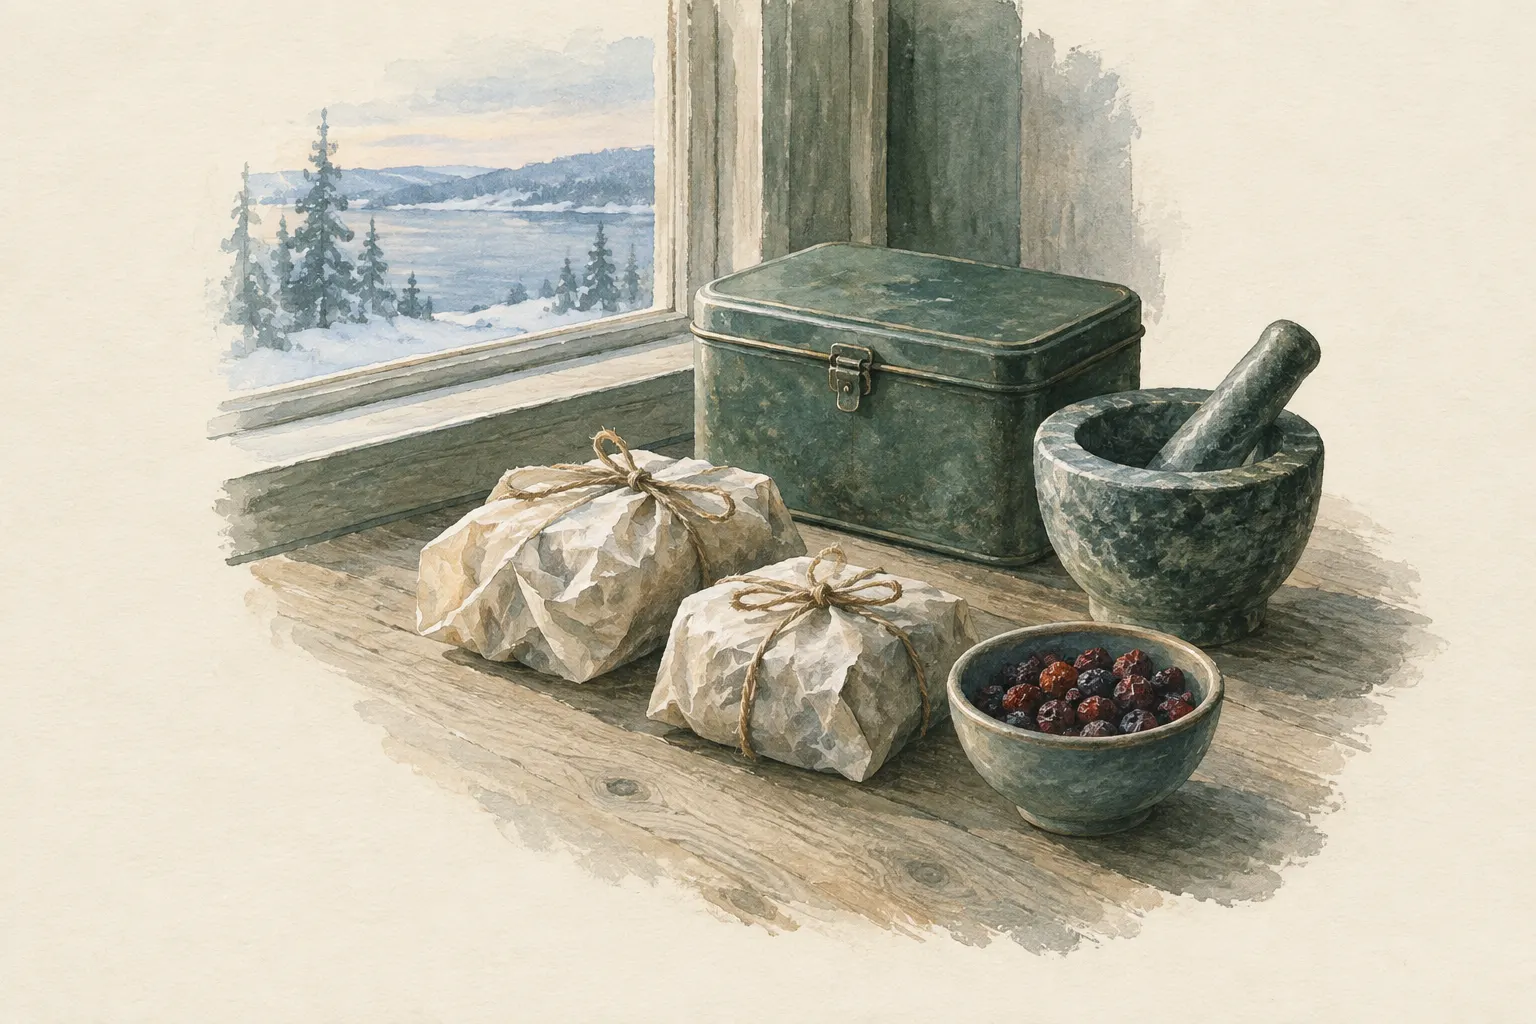
Pour the warm, liquid fat little by little over the meat powder and stir until everything just glistens moist and can be pressed together. As a rough guide, use about the same weight of fat as meat powder. If you like, mix in a handful of completely dry berries.
- 7
Shape and cool
Press the mass into a flat mould or roll it into balls or bars. Let it set in a cool place. Then cut the slab into portions and wrap each one separately in baking paper.
- 8
Store cool, dark and dry, and check
Store the portions airtight, cool and dark. Warmth and light make the fat go rancid faster. Check smell, look and taste before eating. You can eat pemmican as it is or dissolve it in hot water to make a hearty soup.
Common mistakes
- Only drying raw meat without heating it first
- Not letting the meat get completely dry
- Using fatty meat
- Processing wild boar or bear
- Too much fat, so the mass stays greasy
- Storing warm and in the light
Quick view
Materials
Knife (fixed or locking blade)
Cut away from your body.
Rules on carrying knives differ by region – check local rules.
Metal pot (stainless steel, aluminium, titanium)
For pre-cooking the strips and melting the fat
Hot – scalding risk.
Probe thermometer (meat thermometer)
Measure at the thickest part, not against bone.
Clean after every use in raw meat.
Raw animal fat (beef suet, kidney fat, pork back fat)
Or ready-made beef tallow from a shop
Only fresh and from a butcher, hunter or own livestock
Keep cool and process soon
Cotton cloth / T-shirt
For straining the fat
Removes coarse particles only – no disinfection.
Airtight food-grade storage container
For storage, cool and dark
Fill only when clean and completely dry; never use containers that previously held chemicals.
Suitable for
- Stores for trips and emergencies without a fridge
- Cold weather with high energy needs
- Little weight for a lot of energy
Not suitable for
- Wild boar, bear, badger and other omnivores – risk of Trichinella, drying does not reliably kill it
- Fatty or not completely dry meat – it spoils
- Warm, damp storage
- As the only food for weeks
Prerequisites
- Legally obtained, fresh, lean meat
- Able to pre-cook and dry meat safely
- Able to render fat
Safety
- Fat goes rancid over time: it then smells sharp, soapy or like old paint and tastes bitter. Rancid, mouldy or damp pemmican is thrown away.
- Only use meat, fat, hides, sinew and bone from a legal source: from a hunter, a butcher, your own livestock or a shop. Killing or trapping game yourself is only allowed with hunting rights in Germany and Austria. Never use animals found dead – the cause of death is unknown.
How it works
Bacteria and mould need water. Completely dry meat contains so little that they hardly grow. The fat coats the meat fibres and keeps air and moisture out. Because fat provides more than twice as much energy per gram as protein, a little weight becomes a very nourishing ration. The order is what matters: heat first so germs die, then dry completely, then mix with clean, rendered fat.
Advantages
- A lot of energy for little weight
- No refrigeration needed when stored cool and dark
- Can be eaten as is or cooked
- Few ingredients
Disadvantages
- Laborious: drying takes a long time
- Fat can go rancid
- A lot of fat – unusual for the stomach
- Not suitable for every kind of meat
Deep knowledge
Background
Pemmican comes from the peoples of the North American plains. They dried bison meat, pounded it and mixed it with fat and berries. Fur traders and later polar expeditions adopted the ration because it was light, kept for a long time and supplied a lot of energy.
Today we know more about food safety than in the past. That is why pemmican now includes the modern step of heating the meat before drying it. It hardly changes the taste but clearly lowers the risk.
Variants
- With berries
- Dried blueberries, lingonberries or cranberries add flavour. They must be just as dry as the meat, or they bring in moisture.
- As soup
- Crush one portion in hot water and simmer briefly. With some flour, oats or potato flakes it becomes a thick, warming stew.
Common mistakes
- Only drying raw meat without heating it first
- Not letting the meat get completely dry
- Using fatty meat
- Processing wild boar or bear
- Too much fat, so the mass stays greasy
- Storing warm and in the light
Limits and risks
- No exact shelf life – depends on dryness, fat and storage
- No nutritional calculation
- Does not replace a balanced diet
Material alternatives
Derived from material properties: a substitute must have all relevant properties. Observe the notes on the substitute.
- Metal pot (stainless steel, aluminium, titanium)
- Single-wall stainless steel bottle (Heat only single-wall bottles without paint/plastic; remove the lid before heating.)
- Airtight food-grade storage container
- Single-wall stainless steel bottle (Heat only single-wall bottles without paint/plastic; remove the lid before heating.), Double-wall insulated bottle (Never heat directly.), PET bottle (clear, max. 2 litres) (Do not heat or place in a fire.), Food-grade water container (Only use containers that never held chemicals or fuel.), Collapsible water container or bag (Protect from sharp objects.), Food-grade water bag (Use only for drinking water, never for chemicals or fuel.), Fermentation jar or crock (Use only food-grade containers of glass, food-safe glazed stoneware or food-grade plastic – no metal containers for acidic food.), Resealable food bags (Use only bags intended for food; do not use with boiling water unless the manufacturer explicitly allows it.)
Results come exclusively from structured entries. No improvised instructions are generated.
Sources (5)
- United States Department of Agriculture – Food Safety and Inspection Service (USDA FSIS): Jerky and Food Safety · Heat meat to 71 °C, poultry to 74 °C before drying; drying alone does not reliably kill germs
- Centers for Disease Control and Prevention (CDC): Trichinellosis – Prevention · Trichinella in wild boar, bear and other omnivores; drying, smoking and salting do not reliably kill them
- University of Georgia / National Center for Home Food Preservation (USA): National Center for Home Food Preservation – tested guidance on drying and preserving food · Tested guidance on drying meat
- U.S. Department of Agriculture, Food Safety and Inspection Service (USDA FSIS): Molds on Food: Are They Dangerous? · Throw away mouldy food
- Headquarters, Department of the Army (USA) (2002): FM 3-05.70 Survival · Preserving meat by drying