


















Sharpening an axe or hatchet: with a file and a stone
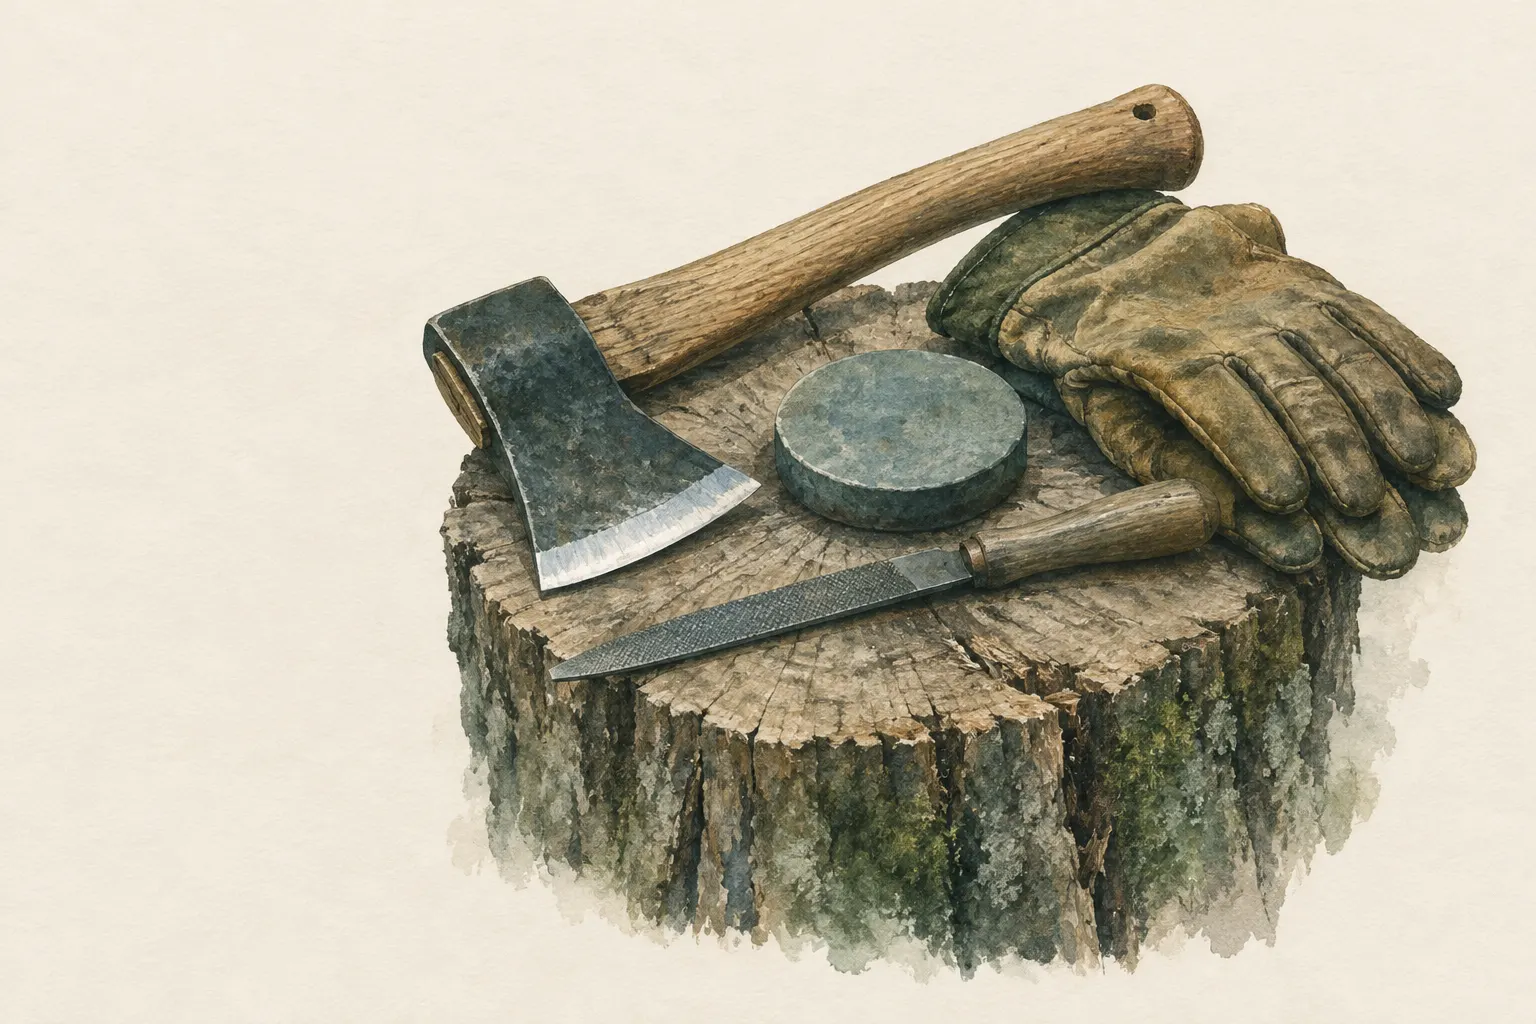
A blunt axe is more dangerous than a sharp one: it glances off, slips and needs more force. With a file and a round sharpening stone you can bring an axe edge back into shape – at home and on the trail. Here you learn to fix the axe safely, check the edge, restore its shape with a file, sharpen and hone it with a stone, remove the burr and protect the edge.
- 15–45 minutes, depending on the state of the edge
Explained simply
A blunt axe slips more easily than a sharp one – and that is dangerous. That is why you sharpen it regularly.
First you fix the axe so it does not wobble. With a file you bring back the shape of the edge, with a sharpening stone you make it really sharp. You wear a glove that protects against cuts.
You can see in the light whether the axe is sharp: a blunt edge shines as a bright line, a sharp one does not. You never test it with your finger.
How it works
An axe edge is wedge-shaped and slightly convex. Over time the edge rounds off and reflects light – that is the bright line you see from the front. The file removes steel until both faces meet again in a fine line.
In doing so a little steel is pushed over the edge to the other side: the burr. It shows you have worked right to the front. The fine stone smooths the edge and removes the burr.
What matters
The same angle: changing the angle constantly rounds the edge instead of sharpening it. Better slow and steady.
Both sides alike: the same number of strokes or circles on each side keeps the edge centred.
Not too thin: an axe needs a strong edge. Ground too thin, it chips in hard wood.
Safety: what to watch out for
Cut-resistant glove on the hand holding the file or stone. File and stone never run towards your fingers.
The axe must lie firmly. A vice or two pegs on a stump stop it slipping.
Loose heads, cracks in the handle or head: do not use until the axe is repaired.
Step by step
Check the edge
Look straight at the edge in bright light. Blunt spots shine as a bright line, nicks show as notches. Also check that the head sits firmly on the handle.
- 1
Check the edge
Look straight at the edge in bright light. Blunt spots shine as a bright line, nicks show as notches. Also check that the head sits firmly on the handle.
- 2
Fix the axe securely
Lay the axe flat on a stump or table and wedge it between two driven pegs or in a vice. The edge points away from you and sticks out a little.
- 3
Restore the shape with the file
Put on the glove. Lay the file flat a little behind the edge and push it with light pressure into the edge – from the middle to the corners. The file only cuts on the forward stroke. Work until the bright line has gone and a burr forms on the other side. Then turn the axe over.
File away from your hand, glove on.
- 4
Sharpen with the stone
Wet or oil the stone. Move it in small circles along the edge, the same number of times on each side. Start with the coarse side, then the fine one. Keep the angle constant so the slight curve is preserved.
- 5
Remove the burr
Finally hone both sides alternately and very lightly with the fine stone until the burr is gone. A piece of leather or wood helps remove the last traces.
- 6
Test the sharpness
Look straight into the light again: a sharp edge shows no bright line. A test cut into a piece of dry wood should be clean and smooth. Never test the edge with your finger.
- 7
Care for it and protect it
Wipe off filings and dust, oil the head lightly against rust and put the edge into a sheath. On the trail a small round stone is enough for touching up.
Common mistakes
- Sharpening without a glove
- Holding the axe loosely in your hand
- Grinding hot with an angle grinder
- Grinding the edge too thin and flat
- Working only one side
- Testing the edge with your finger
Quick view
Materials
Hatchet or small axe
Only use with a firmly seated head and sound handle; fit the edge guard when not in use.
Rules on carrying and on cutting wood differ by region – check local rules.
Flat file and sharpening stone for garden tools
Single-cut flat file
Only use files with a handle; otherwise the tang can stab the hand.
Sharpening stone (combination coarse/fine)
Round axe stone or a combination stone
Follow the manufacturer's instructions on water or oil.
Cut-resistant glove
Reduces cuts but does not prevent stab injuries.
Tool oil / care oil
Rags soaked in drying oils (e.g. linseed oil) can self-ignite – lay them out flat to dry or dispose of them in water in a closed metal container.
For blades that touch food, use a food-safe oil.
Suitable for
- Blunt or slightly nicked axe edges
- Care before and after a trip
- Touching up on the trail with a small stone
Not suitable for
- Broken, cracked or loose heads – have them replaced
- Grinding with an angle grinder – the heat ruins the temper
- Deep chips – a job for a workshop
Prerequisites
- An axe or hatchet with a sound handle
- A stable surface to fix it on
- Cut-resistant glove
Safety
- The axe must lie firmly, for example between two pegs on a stump or in a vice. A slipping axe is the most common cause of cuts while sharpening.
- Check head and handle before any work. A loose head can fly off while chopping.
How it works
An axe splits and cuts with a slightly convex, strong edge. If it is too thin it chips; if it is too thick it glances off. The file restores the shape by removing steel; the stone makes the edge fine and sharp. Sharpening raises a fine burr on the opposite side – only when you can feel it along the whole length have you worked right to the edge.
Advantages
- Safer and easier work
- Little equipment needed
- Extends the life of the axe
Disadvantages
- Needs patience and a steady angle
- Deep nicks take a long time
Deep knowledge
Background
Woodcutters used to carry a file and a stone in their pocket and touched up the edge several times a day. A sharp axe saves so much effort that the break pays off.
The round, flat axe stone with a coarse and a fine side is a Scandinavian invention that has spread worldwide.
Variants
- With the round axe stone only
- On the trail you hold the stone in your hand and the axe edge up, braced firmly against a stump. Circular strokes, always with a glove.
- With a river pebble
- Without a stone, a fine-grained, flat pebble used wet can serve for honing. It sharpens more slowly but removes the burr.
Common mistakes
- Sharpening without a glove
- Holding the axe loosely in your hand
- Grinding hot with an angle grinder
- Grinding the edge too thin and flat
- Working only one side
- Testing the edge with your finger
Limits and risks
- No angle figures in degrees
- No substitute for a workshop for cracks or loose heads
Sources (2)
- Ray Mears – Hodder & Stoughton (2002): Bushcraft · Caring for and sharpening an axe; sharp tools are safer
- Mors L. Kochanski – Lone Pine Publishing: Bushcraft: Outdoor Skills and Wilderness Survival · Shaping and sharpening an axe edge