






Fire-hardening wood: digging stick, pegs, points
A freshly carved wooden point quickly becomes blunt and soft. If it is dried slowly over embers and lightly toasted, it becomes harder and lasts longer. This is how digging sticks for digging up roots, pegs for hard ground and stakes are made. Here you learn to choose suitable wood, rough-carve the point, dry it patiently over the embers without burning it, and finally re-sharpen it.
- Carving 15–30 minutes, hardening 20–40 minutes
Explained simply
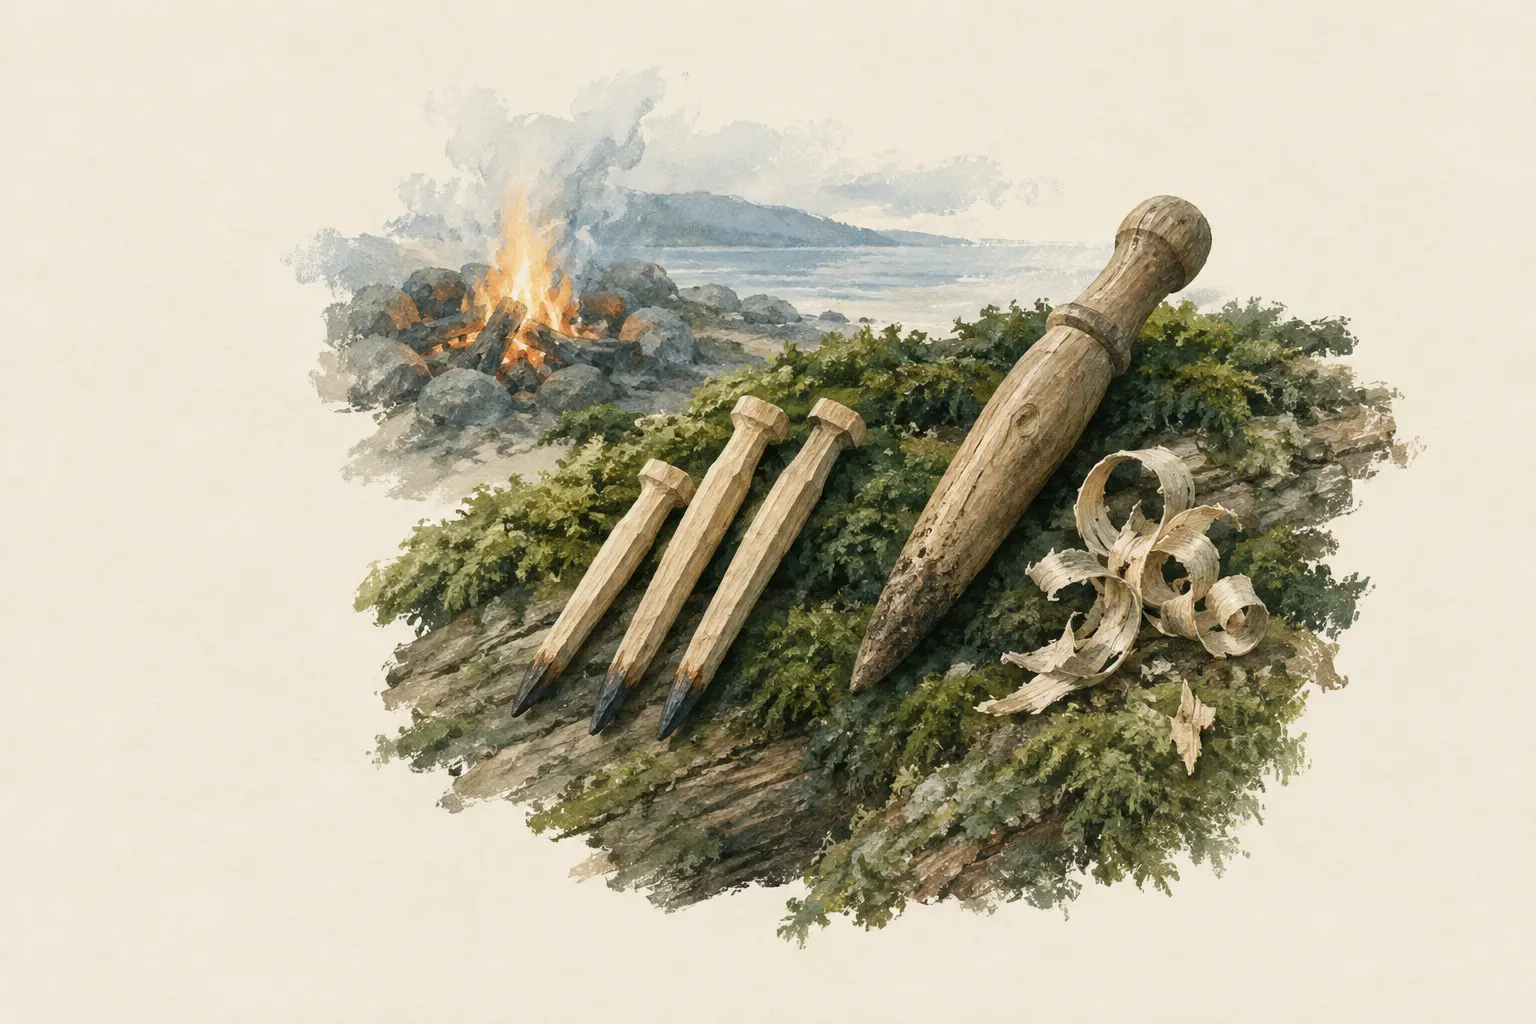
A freshly carved wooden point is soft because there is a lot of water in the wood. If you dry it slowly over the embers, it gets harder.
You hold the point just above the embers and keep turning it until it is light brown. It must not turn black – burnt wood crumbles.
Afterwards you carve the point again. That is how you make digging sticks or pegs that last much longer.
How it works
Water makes wood fibres soft and flexible. The heat of the embers drives the water out of the point and the fibres move closer together. The surface toasts lightly and becomes firmer and less sensitive to wet.
Too much heat, however, destroys the fibres: charred wood is weak and crumbly. Slow, even drying is what counts.
What matters
Embers instead of flame: flames char the point on the outside while it stays wet inside.
Breaks: let it cool in between so the heat moves inside.
Carve slightly thicker first: the wood shrinks while drying, and you sharpen it at the end.
Safety: what to watch out for
Always carve away from your body, legs out of the line of the cut.
Only hold hot wood by the cold end.
Only make fire where it is allowed, have water ready and put it out completely at the end.
Step by step
Choose the wood
Take a straight, sound branch of hardwood such as hazel, ash, maple or beech – fresh or half dry. Without cracks or rot.
- 1
Choose the wood
Take a straight, sound branch of hardwood such as hazel, ash, maple or beech – fresh or half dry. Without cracks or rot.
- 2
Rough-carve
Rough-carve the point, a little thicker than you want it in the end. The wood shrinks while hardening, and you sharpen it again at the end.
- 3
Prepare the embers
Let a fire burn down to a bed of embers. Flames char the point; even embers dry it.
- 4
Turn slowly over the embers
Hold the point just above the embers, not in them, and turn it constantly. After a few minutes it steams and turns light brown. Take breaks so the heat moves inside without anything burning on the outside.
Light brown is good, black is too much.
- 5
Check colour and hardness
The point should be evenly golden brown and hardly give when scratched with a fingernail. Scrape off black, charred spots.
- 6
Re-sharpen
Let the wood cool and re-carve the point with short, fine cuts. The hard, toasted layer stays on the outside.
Common mistakes
- Holding the point in the flame
- Too fast, black outside, wet inside
- Carving the point too thin beforehand
- Using brittle or rotten wood
Quick view
Materials
Knife (fixed or locking blade)
Cut away from your body.
Rules on carrying knives differ by region – check local rules.
Sturdy sticks / poles
Straight hardwood branch, about thumb-thick or thicker
Do not cut live wood where prohibited.
Dry firewood
Collect only where permitted.
Water for extinguishing (bucket, canister or pot)
Have several litres ready before lighting.
Suitable for
- Digging sticks
- Tent pegs for hard ground
- Stakes and skewers for cooking
Not suitable for
- Tools under heavy bending loads – hardened wood becomes more brittle
- Poisonous woods such as yew for cooking skewers
Prerequisites
- A small fire with embers
- Able to carve safely
- Wood you are allowed to take
Safety
- Always carve away from your body and keep your legs out of the line of the cut. Only hold hot wood by the cold end.
- Wood, bark and trees belong to someone. Without the forest owner's permission you may not fell trees, peel bark or take wood in Austria and Germany. Only take what you are allowed to – best of all dead wood on the ground or wood from your own land.
How it works
Fresh wood contains a lot of water and is therefore soft. Slow heat drives the water out of the point, the wood fibres contract and the surface toasts lightly. That makes the point harder and less absorbent. Too much heat, however, chars the wood – charred wood is crumbly and weaker than before.
Advantages
- Simple, no tools except a knife
- Points last considerably longer
Disadvantages
- Wood becomes more brittle
- No substitute for metal
Deep knowledge
Background
Fire-hardened wooden points are among the oldest tools. Digging sticks were the most important tool for gathering roots and tubers in many cultures.
The trick is patience: many who try it for the first time hold the point too close to the flame and char it.
Variants
- Digging stick
- A stick about hip height with a broad, chisel-like point. Hardened, it loosens hard soil for digging roots, tubers or a latrine pit.
- Pegs
- Harden several short pegs over the embers at once. They penetrate firm soil better and splinter less when driven in.
Common mistakes
- Holding the point in the flame
- Too fast, black outside, wet inside
- Carving the point too thin beforehand
- Using brittle or rotten wood
Limits and risks
- No instructions for weapons
- No hardness values
Material alternatives
Derived from material properties: a substitute must have all relevant properties. Observe the notes on the substitute.
- Dry firewood
- Tinder (Carry in waterproof packaging.), Char cloth (charred cotton) (Store dry in a tin.), Finest-grade steel wool (Store separately from batteries – fire risk.), Fatwood (resin-rich wood) (Collect only dead wood where permitted.), Stove fuel (canister, liquid fuel, alcohol) (Store fuels apart from food and in original containers or bottles intended for them.), Petroleum jelly cotton balls (Use only pure cotton.), Cooking oil or cooking fat (tallow, lard) (Never put out burning fat with water – cover it with a lid to smother it.), Tree resin (spruce, pine) (Resin is flammable and sticks to the skin when hot – melt it only slowly over low heat.), Birch bark (from dead, fallen wood) (Never peel from living trees.)
Results come exclusively from structured entries. No improvised instructions are generated.
Sources (3)
- USDA Forest Service / Ad Council / National Association of State Foresters: Campfire Safety (Smokey Bear wildfire prevention campaign) · Never leave a fire unattended, keep water ready, put it out completely
- Mors L. Kochanski – Lone Pine Publishing: Bushcraft: Outdoor Skills and Wilderness Survival · Drying and hardening wood over embers
- Headquarters, Department of the Army (USA) (2002): FM 3-05.70 Survival · Hardening wooden tools in fire