






Snow-block igloo: the dome that holds itself up
An igloo is a dome of snow blocks that lean further and further inwards in a spiral until a last block closes the circle at the top. Inside it stays just below zero even in a storm at minus 30 degrees. Here you learn to find the right snow, cut blocks, build the spiral, set the key block, dig a cold trap as the entrance and never forget the air hole – and why an igloo takes a lot of practice and a snow cave is often quicker in an emergency.
- 2–4 hours for two people, with practice
Explained simply
An igloo is a round house made of snow blocks. The blocks are placed on top of each other in a circle and lean further and further inwards until only a hole is left at the top. A last block closes it.
Inside it is much warmer than outside, because snow is full of air and hardly lets warmth through. The entrance is lower than the sleeping place so the cold air flows out.
A small hole at the top of the dome is very important so fresh air comes in. And you never make fire inside.
How it works
A dome is the most stable shape you can build from blocks: each block presses against its neighbours, and the weight is carried round into the ground. Thanks to the spiral, each new block has support in two places and does not fall inwards while you build.
Warm air rises, cold air sinks. Because the entrance lies lower than the sleeping bench, the cold collects in the entrance trench while body warmth stays up top. The air hole lets stale, damp air out.
What matters
The snow: firm and wind-packed, so a test block does not break when lifted. In soft powder snow no igloo will work – then a quinzhee is better.
The size: about 2.5 metres in diameter for two people. Larger, the dome gets flat and can sag.
Division of work: one person builds inside, one cuts outside. Alone it takes a very long time.
Safety: what to watch out for
Carbon monoxide: no fire in the igloo. Stoves and candles only briefly, with the air hole and entrance open, never while sleeping. Headache and nausea are warning signs.
Avalanches: only build on flat ground, never on or below slopes.
Sweat: do not get soaked with sweat while building; put on dry clothes immediately afterwards.
Step by step
Check the snow and site
Find a flat spot away from slopes. Push a pole into the snow: it should be evenly firm so a boot barely sinks in. Cut a test block – if it does not break when you lift it, the snow is good.
Caution: No building in avalanche terrain.
- 1
Check the snow and site
Find a flat spot away from slopes. Push a pole into the snow: it should be evenly firm so a boot barely sinks in. Cut a test block – if it does not break when you lift it, the snow is good.
No building in avalanche terrain.
- 2
Mark the circle
Draw a circle with a stick on a cord: about 2.5 metres in diameter for two people. Stamp the snow inside the circle firm.
- 3
Cut the blocks
Cut the blocks ideally inside the circle – that way the floor gets lower at the same time. A block is about 60 cm long, 40 cm high and 20 cm thick. First cut vertically, then free it from below.
- 4
First row as a ramp
Place the first row round the circle, the blocks leaning slightly inwards. Then cut a diagonal ramp across two or three blocks from bottom to top: this is where the spiral begins.
- 5
Build the spiral inwards
Place each new block on the spiral so it rests below and against the previous one, and lean it further inwards with every round. One person builds inside, one cuts and passes from outside.
- 6
Set the key block
The last opening at the top is closed with a slightly larger block that you push up at an angle from inside and trim until it rests on all sides.
- 7
Entrance with a cold trap
Dig the entrance on the downwind side under the wall, lower than the sleeping platform. Inside, shovel the floor up into a sleeping bench. Fill all joints outside with snow.
- 8
Air hole and insulation
Push a fist-sized air hole through the top of the dome. Lay sleeping pads on the bench, backpacks as a windbreak in the entrance, and keep the hole clear overnight.
Always keep the air hole open.
Common mistakes
- Forgetting the air hole or letting it snow up
- Building in soft powder snow
- Entrance higher than the sleeping platform
- Sleeping in wet clothing
- Too large a diameter – the dome gets flat and unstable
Quick view
Materials
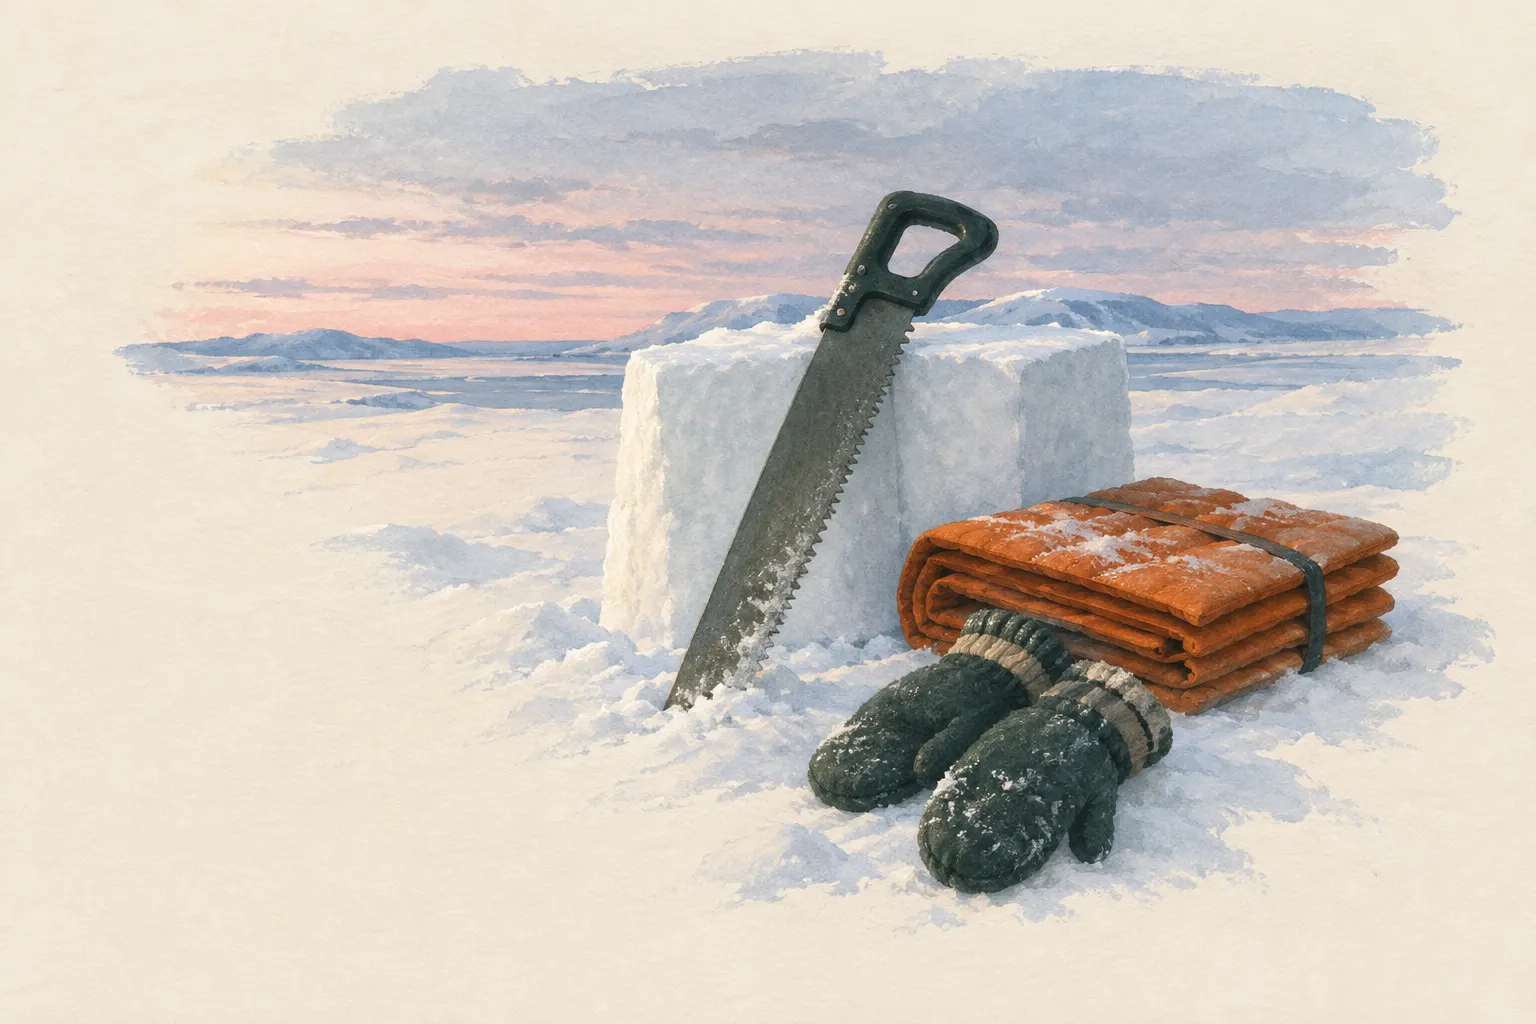
Snow saw or long knife
For cutting the blocks
Cover the blade when carrying.
Snow shovel
For the entrance and filling the joints
Always take it inside when digging a snow shelter.
Trekking poles
For probing the snow depth and making the air hole
Sleeping pad
Insulation from the snow floor
Dry spare clothing
Dry change of clothes – building makes you sweat
Carry it in waterproof packaging – wet clothing barely insulates.
Suitable for
- Several nights in one place in snow
- Open, windy snowfields without trees
- Groups with practice
Not suitable for
- Soft powder snow – then quinzhee or snow cave
- Exhausted, hypothermic people – protect them quickly first
- Avalanche slopes and run-out zones
Prerequisites
- Firm, wind-packed snow at least knee-deep
- No avalanche terrain
- Practice in good weather near a hut or the car
Safety
- Building makes you sweat heavily. Take off layers, change gloves, then put on dry clothes immediately and have a warm drink – wet clothing leads to hypothermia at night.
How it works
Snow is almost 90 percent air and therefore insulates superbly. A dome holds itself up because every block leans on its neighbours and the pressure is carried down all round. The spiral makes sure every new block has support on two sides. Because warm air rises and cold air sinks, the entrance lies lower than the sleeping platform: the cold air drains into the entrance trench, the warmth stays up.
Advantages
- Very warm and storm-proof
- Lasts many nights
Disadvantages
- Needs the right snow
- A lot of practice and time
- You get wet while building
Deep knowledge
Background
Inuit in Canada and Greenland built igloos as winter and hunting shelters, some so big that several families celebrated inside. With a snow knife of bone or ivory, skilled builders cut a small igloo in an hour.
Today mountaineers, soldiers and ski tourers learn to build igloos on courses. The most important advice: practise first, when you do not need it.
Variants
- Half igloo over a trench
- When short of time, dig a trench and cover it with blocks leaned against each other like a roof. That is much quicker than a full dome.
- Wind wall
- Even a semicircular wall of snow blocks on the windward side of a tent makes a big difference.
Common mistakes
- Forgetting the air hole or letting it snow up
- Building in soft powder snow
- Entrance higher than the sleeping platform
- Sleeping in wet clothing
- Too large a diameter – the dome gets flat and unstable
Limits and risks
- No guaranteed build time
- No substitute for a course
Material alternatives
Derived from material properties: a substitute must have all relevant properties. Observe the notes on the substitute.
- Trekking poles
- Sturdy sticks / poles (Do not cut live wood where prohibited.), Tent pole repair sleeve (Temporary only – have broken sections replaced at home.), Round logs (straight, sound) (Fell or take only with the forest owner's permission.), Straight, fresh hardwood stick (Only take dead wood or wood you are allowed to cut)
- Sleeping pad
- Dry leaves, grass or conifer boughs (Collect only where allowed; no protected plants. Check for ticks and insects.), Backpack, Dry spare clothing (Carry it in waterproof packaging – wet clothing barely insulates.), Wool blanket / duvet (Keep away from candles, stoves and heaters.), Insulated cool box (Keeps cold only for a limited time; without ice packs or ice it is not a fridge.), Sleeping bag (Do not store compressed long-term; do not pack away damp.), Newspaper and cardboard (Flammable – keep away from candles, stoves, heaters and embers.), Insulated cooking box (hay box, thermal cooker) (Never put open flame or embers inside – only the hot, closed pot.), Long-stemmed thatch (reed, grass, rushes) (Extremely flammable – no open fire and no sparks nearby.), Pot insulation (pot cosy, beanie or fleece jacket) (Only around a pot that is no longer on the stove – fabric catches fire at the flame.)
- Dry spare clothing
- Sleeping pad, Dry leaves, grass or conifer boughs (Collect only where allowed; no protected plants. Check for ticks and insects.), Backpack, Wool blanket / duvet (Keep away from candles, stoves and heaters.), Insulated cool box (Keeps cold only for a limited time; without ice packs or ice it is not a fridge.), Sleeping bag (Do not store compressed long-term; do not pack away damp.), Newspaper and cardboard (Flammable – keep away from candles, stoves, heaters and embers.), Insulated cooking box (hay box, thermal cooker) (Never put open flame or embers inside – only the hot, closed pot.), Long-stemmed thatch (reed, grass, rushes) (Extremely flammable – no open fire and no sparks nearby.), Pot insulation (pot cosy, beanie or fleece jacket) (Only around a pot that is no longer on the stove – fabric catches fire at the flame.)
Results come exclusively from structured entries. No improvised instructions are generated.
Sources (5)
- The Mountaineers Books (2017): Mountaineering: The Freedom of the Hills, 9th edition · Snow shelters, igloo building, ventilation and cold trap
- European Avalanche Warning Services (EAWS): European Avalanche Danger Scale · Check avalanche danger before building in snow; not on slopes or in run-out zones
- Centers for Disease Control and Prevention: Carbon Monoxide Poisoning – Prevention guidance · Stoves, candles and embers in enclosed shelters produce carbon monoxide
- Wilderness & Environmental Medicine (Wilderness Medical Society) (2019): Wilderness Medical Society Clinical Practice Guidelines for the Out-of-Hospital Evaluation and Treatment of Accidental Hypothermia: 2019 Update · Avoid heat loss through conduction, wind and wet; insulation from the ground
- Headquarters, Department of the Army (USA) (2002): FM 3-05.70 Survival · Snow shelters: ventilation, entrance lower than the sleeping area